Onboarding
Setting Up Your Account: Configuring Shop Tweak for Online Bookings
Welcome to Shop Tweak! Follow these steps to set up your account and start receiving and managing online bookings.
Onboarding Basics: Updating Settings in Shop Tweak
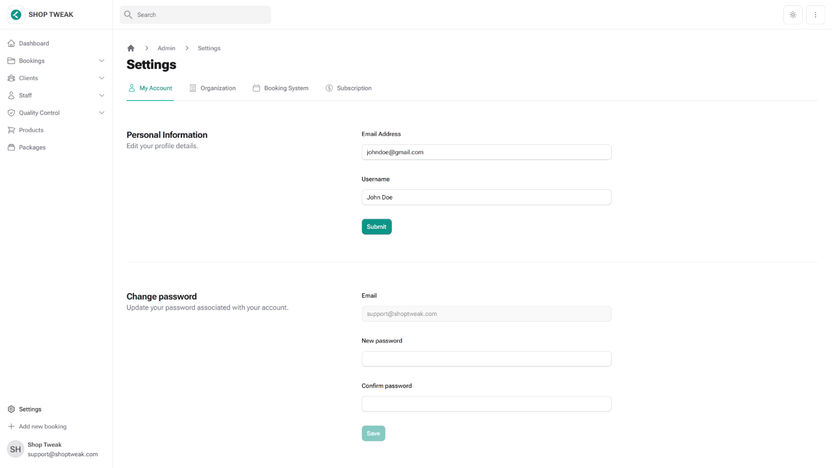
To begin, create your Shop Tweak account and configure your profile within the "Settings" tab. Here's how to set up the essential components of your account:
Access settings in Shop Tweak here
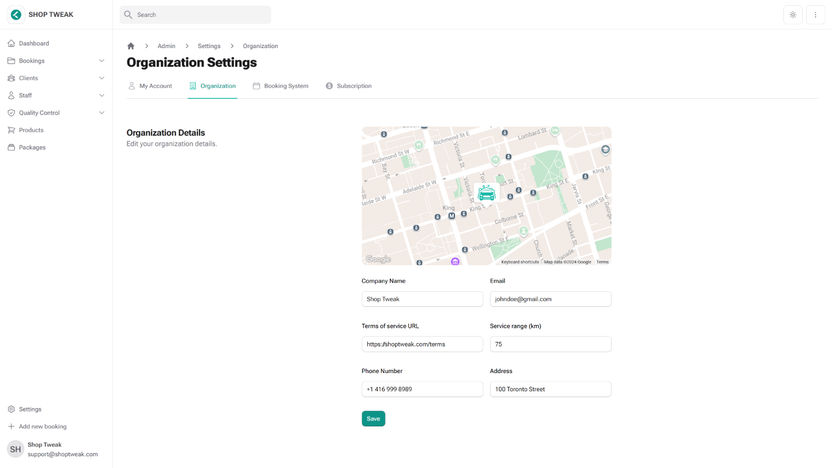
Setting up Your Organization Profile
Navigate to the "Organization" tab in the "Settings". Enter your company details, including name, address, and contact information, to ensure your business profile is complete.
Customizing the Booking System Interface
Switch to the "Booking System" tab in the "Settings" to customize how your booking system appears to clients:
Update your booking interface by uploading your company logo and adding important links like your homepage, contact page, or other relevant URLs for easy access from the booking system.
Set the business hours during which customers can book appointments. Adjust these times to reflect the actual operating hours of your business.
For more guidance, visit: Booking System.

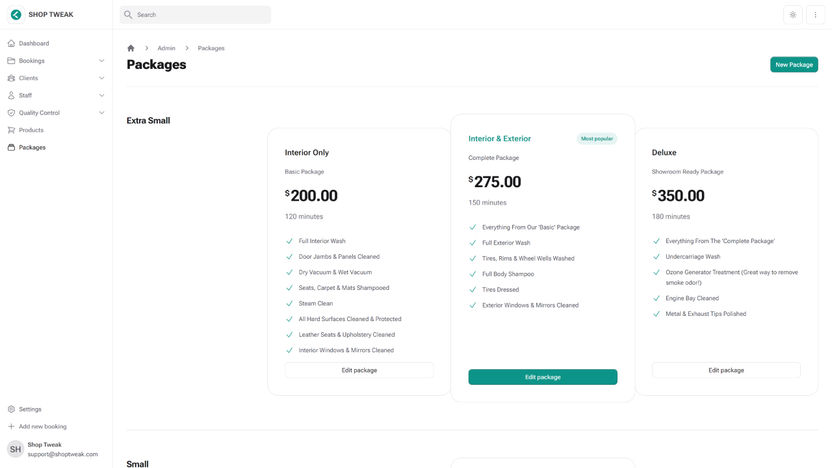
Service Package Configuration
Create service packages that customers can schedule through the booking system. To learn more about setting up service packages, refer to the Packages Documentation.
While setting up packages, you'll specify the required duration for each service. This ensures that subsequent bookings are appropriately spaced, automatically scheduling each new appointment only after the necessary time has elapsed since the last booking.
Click here to create service packages
Staff Management
If applicable, create and manage staff accounts to assign bookings, manage payroll, and streamline operations. For detailed information on managing staff, visit: Staff Management.
Click here to access staff management
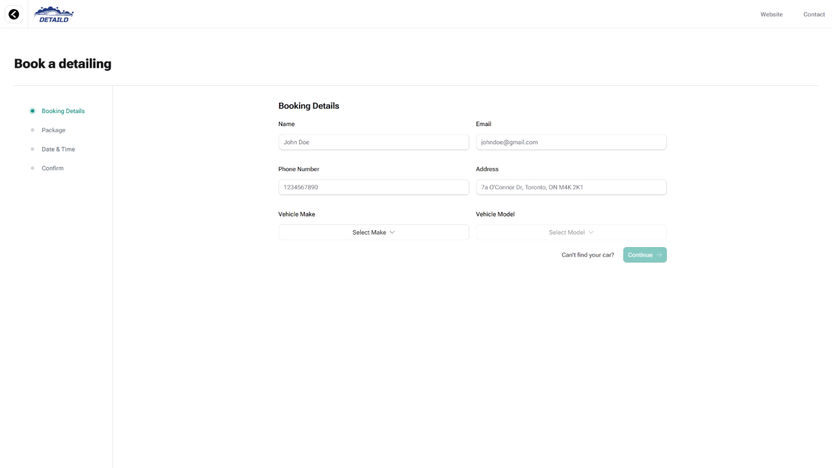
Integrating the Booking System into Your Website
With the settings configured and packages created, integrate the booking system into your website to start accepting online appointments. For more guidance, visit: Booking System.
Before going live, simulate various booking scenarios to verify that your settings are correct and the system functions as intended.
Start Accepting & Managing Bookings!
Congratulations! You are now ready to accept online bookings. All scheduled appointments will appear under the "Bookings" section in your Shop Tweak dashboard, where you can manage and oversee all client interactions. For more details on managing bookings, refer to: Booking Management.
These are the essential settings needed to begin accepting online appointments. Shop Tweak offers many more additional features to enhance your setup and operations, which you can explore within this documentation.